
I was never a big fan of mooncake since young, it was way too sweet for my palate, but I learnt to make mooncake with a group of friends here in the States and we did made it a tad healthier than the shop bought version.
But this year all of us in the group were busy with kids' holiday activities so we did not manage to get together for the yearly event.
I had been wanting to make this piggy mooncake since I saw it on Anncoo's blog last year, I even made the golden syrup, but things happened one after another and I had to postponed my plan for couple of time.
This year I decided to had to make it no matter what, so I did. The process wasn't easy as A was not well and I had to work through his screams and demands and had to leave the work bench couple of times in between. But I had a lot of fun and it was a great experience after all. The most important thing is that I manage to get it done 1 day before mooncake festival!
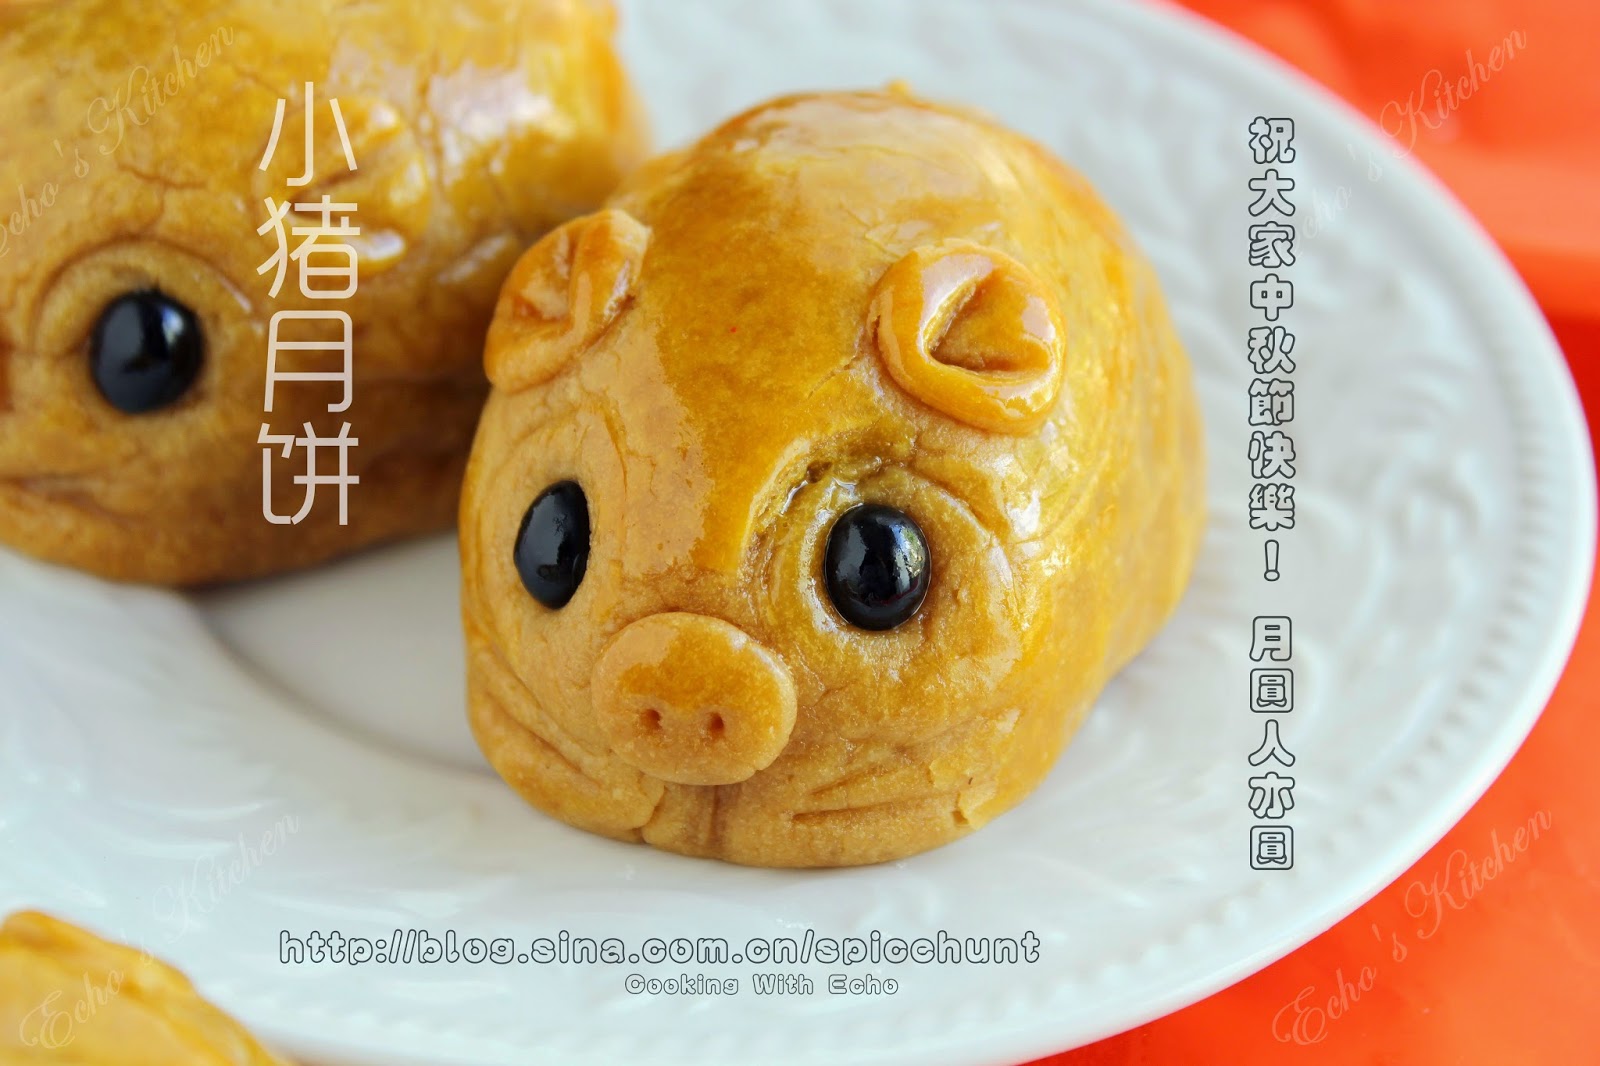
Here I am with my piggies and A to wish everybody Happy Mooncake Festival 2014!
Recipe adapted from :Anncoo Journal
Ingredients:(For 10 Mooncakes)
For the skin:
300 gm All Purpose Flour
180 gm Golden Syrup
7 gm Alkaline water or Potassium Carbonate & Sodium Carbonate Solution/雪鹼水
78 gm Cooking oil(I used avocado oil)
For the filling:
700 gm Red bean Paste (or any other shop bought fillings, just make sure that it is dry enough else your piggies may become flat.)
Others:
10 Black Soy bean
1 egg yolk +1 tsp of water for the egg wash
Tools needed:
1/8 tsp measuring spoon/ or piping nozzle
1-2 tooth pick or bamboo skewer
1 small piece of Parchment/wax paper (around 10 cm x 5 cm)
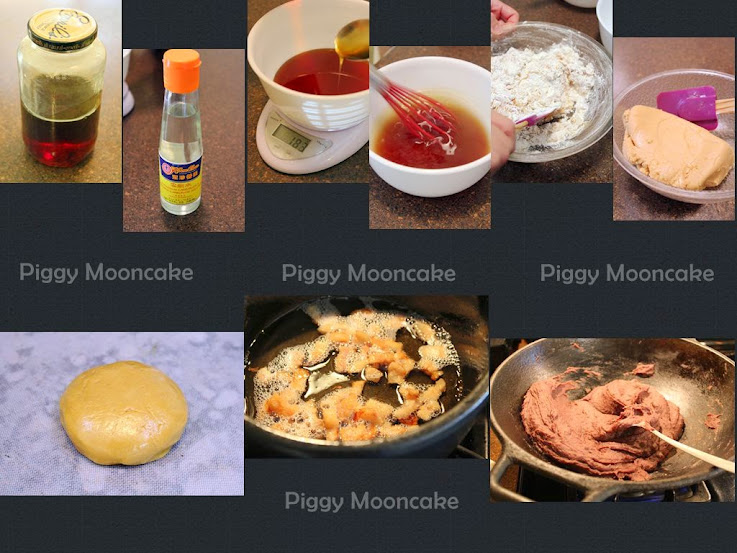
1. I made my red bean paste at home, soaked 2 cups of Adzuki bean for 2 hours, place the soaked beans in a pressure cooker with water submerged around 1 inch above the beans, pressure cook for about 15 minutes or until the bean is mushy.
2. Add the cooked bean into a blender (cooled if needed, my blender takes hot liquid so I blend mine right from the cooker), blend until smooth.
3. In a cookware, add 1/2 cup of lard and 1/3 cup of cooking oil, pour in the blended red bean and 1/2 cup of sugar (or adjust according to your taste), cook and continuously stirring until the bean paste sticks together to form a soft dough and steams reduces greatly.
4. In a mixing bowl, mix together golden syrup, alkaline water and cooking oil using a whisk, leave it aside for 10-20 minutes. Add all purpose flour slowly to form a soft dough, use spatula to do this, it would be too sticky for hands. Cover with cling paper or clean towel, let it sit for 1 hour before working on it.
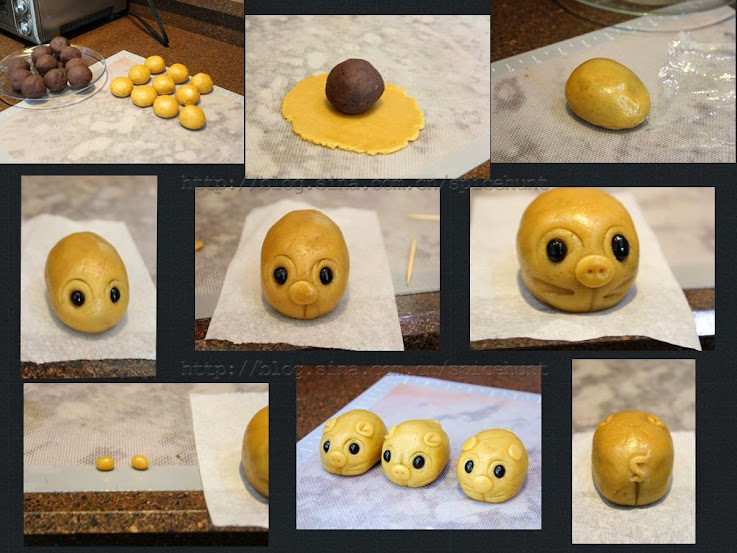
5. Divide the skin dough into 10 portions 50 gm each, make the red bean paste into ten 70 gm portions. roll them all into balls. Remaining dough will be use for shaping mouth, ears and tails of piggies.
6. Press one of the dough ball lightly with palm and cover it with parchment paper, roll it out to a thin disk, place the red bean ball onto the disk, wrap and seal the bean paste with the dough disk, use the part of hand between you thumb and index finger to slowly push the dough to seal it evenly. It takes some patience to do this. When the dough is sealed, lightly roll the moon cake into oval shape.
7. Place the oval shape over parchment paper, pull it towards the edge of table to work on. Use a 1/8 tsp measuring spoon to press out the eyebrows of piggy, you can also use the back side of piping nozzle. Press in two black beans under eye brows to form the eyes of piggies.
8. Use the toothpick to press a straight line at the bottom of piggy's face, pinch out a small dough the size of red bean, roll it into round shape and flattened, stick to the middle part of piggy face to form the nose, use the toothpick to poke two holes to form the nose.
9. Use toothpick to press bottom part of face to make 2 horizontal V shapes to form the front legs of piggies. Pinch out two small dough, the size of moong bean, roll into balls and flattened. Stick to both the side on top of piggy face to form the ears, use the tooth pick to press V shape.
10. Turn the parchment paper to work on the back side, use the toothpick to press a straight line at the bottom to form the hip of piggy, pinch out a very small portion of dough, roll it out to form a thin line, stick above the hip and swirl it a little. Repeat these steps to finish all the dough.
Our piggy is shaped!
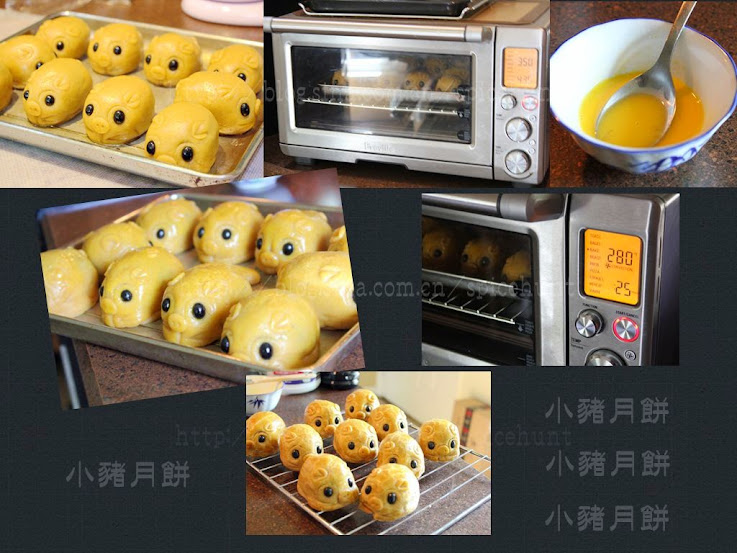
8. Preheat oven to 350 F( 175 C) ,spray baking pan with a thin layer of oil or cover baking pan with parchment paper. Line up the piggies and bake for 5-6 minutes, take it out and let it rest for 15 minutes.
9. Mix egg yolk with 1 tsp of water. Use a small brush to lighly brush the piggies with egg wash, make sure to avoid brushing the eyes.
10. Bake again at 280F(140 C) for 20-25 minutes or until golden in color. Take it out and let cooled on wire rack, store in air-tight container. The pastry will become soft and shinny in 24-36 hours.
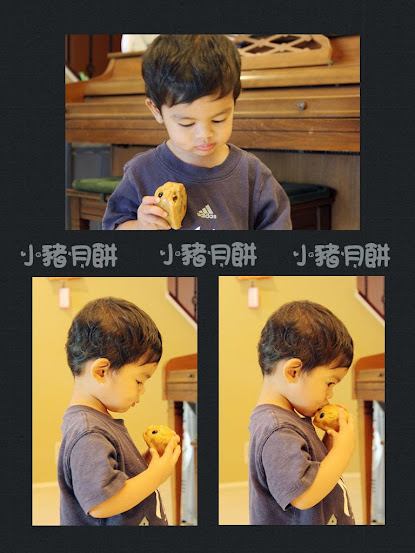
A can't wait till the piggies become cooled, he requested for it repeatedly.
I had to give him one when it was still warm, he wasted no time to give the piggy nose a big bite!
中文 -- 小猪月饼
No comments:
Post a Comment